Chops to Taper | Major Transformation |
His hairline got 2 lightspot | quick fix |

Step by Step Haircut | Before and after
Buzz Skin fade | before and after | ASMR
Shadow Fade step by step | Before & After |
Pushback hairline restore | Quick Fix |
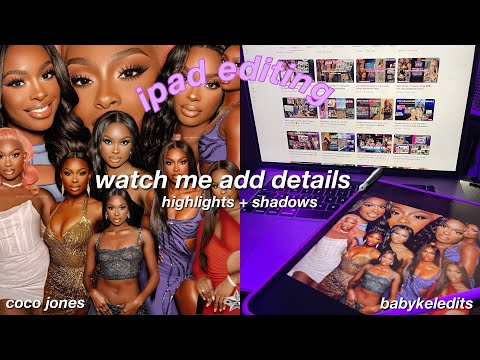
Hey loves it Kel 💕 I hope you enjoy this video watching me add highlights to this CoCo Jones collage edit. Watch my previous video on how I made this collage for FREE in the app Picsart.
★Apps Used In This Tutorial:
SuperimposeX – Price : $4.99 (one time payment only)
(you can get this app from either the Apple Store or the Google Play Store)
★INSTAGRAM:
business: babykeledits
*link: https://www.instagram.com/babykeledits/
main: @miraclekelleyy
*link: https://www.instagram.com/miraclekell…
★TWITTER:
business: @babykeledits
*link: https://twitter.com/Babykeledits
★TIKTOK:
business: babykeledits_
main: miraakel
★Business Email : memedoll100@gmail.com
(for any questions, don’t hesitate to contact me!!!)
recent activity:
How To Make A FREE Custom Collage On Picsart on iPhone & iPad 😍💜| Babykeledits Videos
*link: https://www.youtube.com/watch?v=plKbaTiGjz4&t=3s
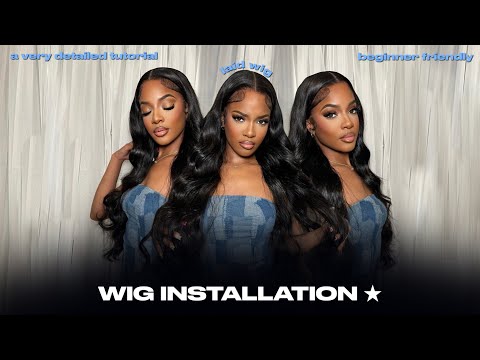
WELCOME TO EPISODE 6 OF MY THUMBNAIL SERIES💕🎨 This video illustrates how you can make a super cute, super easy wig install thumbnail on my iPad. This process is SUPER EASY so I really hope you guys enjoy this tutorial and also follow along with me during this process!!!
★Apps Used In This Tutorial:
SuperimposeX – Price : $4.99 (one time payment only)
Photo – FREE
(you can get these app from either the Apple Store or the Google Play Store)
**fonts used in tutorial
druk wide bold
link to download the font: https://8font.com/druk-wide-bold/
★INSTAGRAM:
business: babykeledits
*link: https://www.instagram.com/babykeledits/
main: @miraclekelleyy
*link: https://www.instagram.com/miraclekell…
★TWITTER:
business: @babykeledits
*link: https://twitter.com/Babykeledits
Business Email : memedoll100@gmail.com
for any questions, don’t hesitate to contact me
recent activity:
Thumbnail Series Ep.4 : how to make a Trendy 4 Grid Thumbnail Tutorial ❤️🔥🎨
*link: https://www.youtube.com/watch?v=gBmiZWLExIc&t=242s
WELCOME TO EPISODE 4 OF MY THUMBNAIL SERIES💕🎨 This video illustrates how you can make the popular 4 grid style thumbnail. This process is SUPER EASY so I really hope you guys enjoy this tutorial and also follow along with me during this process!!!
Apps Used In This Tutorial:
PhotoGrid
Phonto
Picsart (optional)
Canva (optional)
(you can get these apps from either the Apple Store or the Google Play Store)
**fonts used in tutorial
Druk Wide Bold
Helvetica Neue
INSTAGRAM:
business: babykeledits
*link: https://www.instagram.com/babykeledits/
main: @miraclekelleyy
*link: https://www.instagram.com/miraclekell…
TWITTER:
business: @babykeledits
*link: https://twitter.com/Babykeledits
Business Email : memedoll100@gmail.com
for any questions, don’t hesitate to contact me
recent activity:
come make a vision board and chill with me + lofi chill music Babykeledits Videos
*link: https://www.youtube.com/watch?v=jsLpPkvQK3g&t=718s

I’m so excited to show you how I designed this Barbie themed thumbnail to you guys!! 🥰If you have any questions about anything concerning the thumbnail please let it be known in the comments below. Be on the look out for the Barbie Themed Banner Tutorial 👀
apps needed :
PhotoGrid
PicsArt
Phonto
SuperimposeX
Link To Download The Fonts: https://www.fontbolt.com/font/barbie-font/
⌘chapters ⌘
0:00 Quick Run To Best Buy
0:30 I’m Ready To Take My Hair Down
0:59 Official Video Greeting
1:18 Follow Me On My Platforms
1:39 Today’s Video Agenda
1:49 The Back Story Of How I Came Up With The Barbie Thumbnail Idea
3:42 The Apps You Need
4:33 Downloading The Barbie Font
5:43 Getting The Hearts From Bing
6:11 Getting The Butterflies From PicsArt
7:21 The Tutorial Officially Starts Here
7:32 Making The Background Grid In PhotoGrid
8:29 Using The SuperImposeX App
8:31 Creating The Gradient Color Background
13:44 Adding Picture To Project
14:23 Removing The Background From The Photos
19:13 Getting Transparent Background From the PicsArt App
19:33 Creating Barbie Title & Subtitles In Phonto
21:41 Downloading The Second Barbie Font
22:24 Creating Subtitles In Phonto
23:57 Adding Title & Subtitles To Thumbnail In The SuperImposeX App
25:25 Going Back To PicsArt To Get The Circle Spikey Sticker
25:57 Adding The Stickers To The Thumbnail
28:32 The Final Product Reveal
28:56 Youtube Channel Shoutout
29:24 Closing Remarks
29:38 Outro
Youtube Channel Shoutout
𝐃𝐞𝐬𝐭𝐢𝐧𝐲𝐃𝐚𝐃𝐨𝐥𝐥
**link: https://www.youtube.com/@desssdadoll
★connect with me:
☆instagram:
business: babykeledits
*link: https://www.instagram.com/babykeledits/
main: miraclekelleyy
*link: https://www.instagram.com/miraclekelleyy/
☆tiktok:
business: babykeledits_
*link: https://www.tiktok.com/@babykeledits_
old tiktok: babykeledits (IT GOT HACKED🙄)
☆pinterest:
main: miiraakel
*link: https://www.pinterest.com/miiraakel/
business: babykeledits
*link: https://www.pinterest.com/babykeledits
——————————————–
recent activity:
https://www.youtube.com/watch?v=GbuCGpMO9lU&t=112s
★subscriber count: 90,246
☆deets about me☆
age: 23
birthday: feb. 1 ♡
editing software: final cut pro
camera: iphone 12 pro max
Business Email: memedoll100@gmail.com
(For Any Questions or Concerns, Don’t Hesitate to Contact Me!!!)